Since most network cameras are common, which means they can be used on almost any computer. WODWIN have some series of video conference camera products. Such as WIN-DC3L,WIN-M20U3,WIN-JV30U3. Follow the steps below to connect and install a webcam on your computer.
1. Turn on your computer and make sure the operating system is loaded.
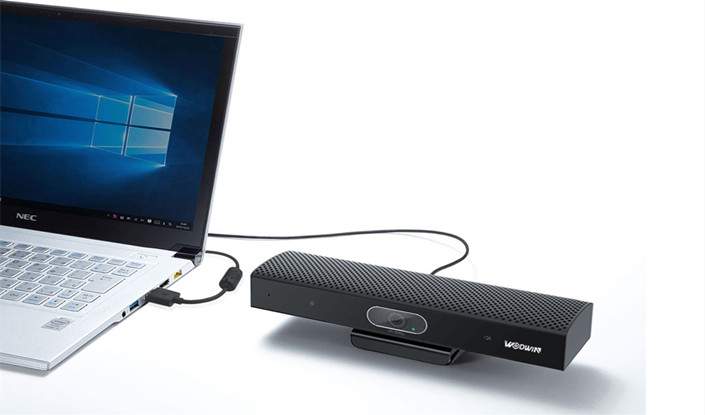
2. Most webcams have a USB cable connected to them. Plug the USB cable into an available USB port on the computer. The USB port is located on the back of the computer or on the side of the laptop.
3.New operating systems, such as Windows 8 and Windows 10, should recognize the camera connection. These drivers are usually installed automatically, allowing the computer to use the webcam or usb camera.
If the operating system does not automatically install the driver, you can go to the manufacturer’s Web site and network camera driver download necessary. Install the downloaded driver on the computer.
4. If your webcam came with a CD containing software, you can install that software to add additional features for the webcam.
5. The webcam needs to be placed in front of you, and near the same height as your face while sitting. The best location to mount the webcam is at the top of your computer monitor. Most webcams sit on top of a monitor, having an adjustable clamp that braces itself against the back of the monitor to secure the webcam. Place the webcam on top of the monitor and adjust the clamp as desired. When finished, the webcam should be pointed at your face.

